

Video Link: Benny's LEGO City Update #1 - Baseplates
G'day all. After a bit of a break due to the birth of my beautiful baby girl, the first
progress post for my custom LEGO City is here.
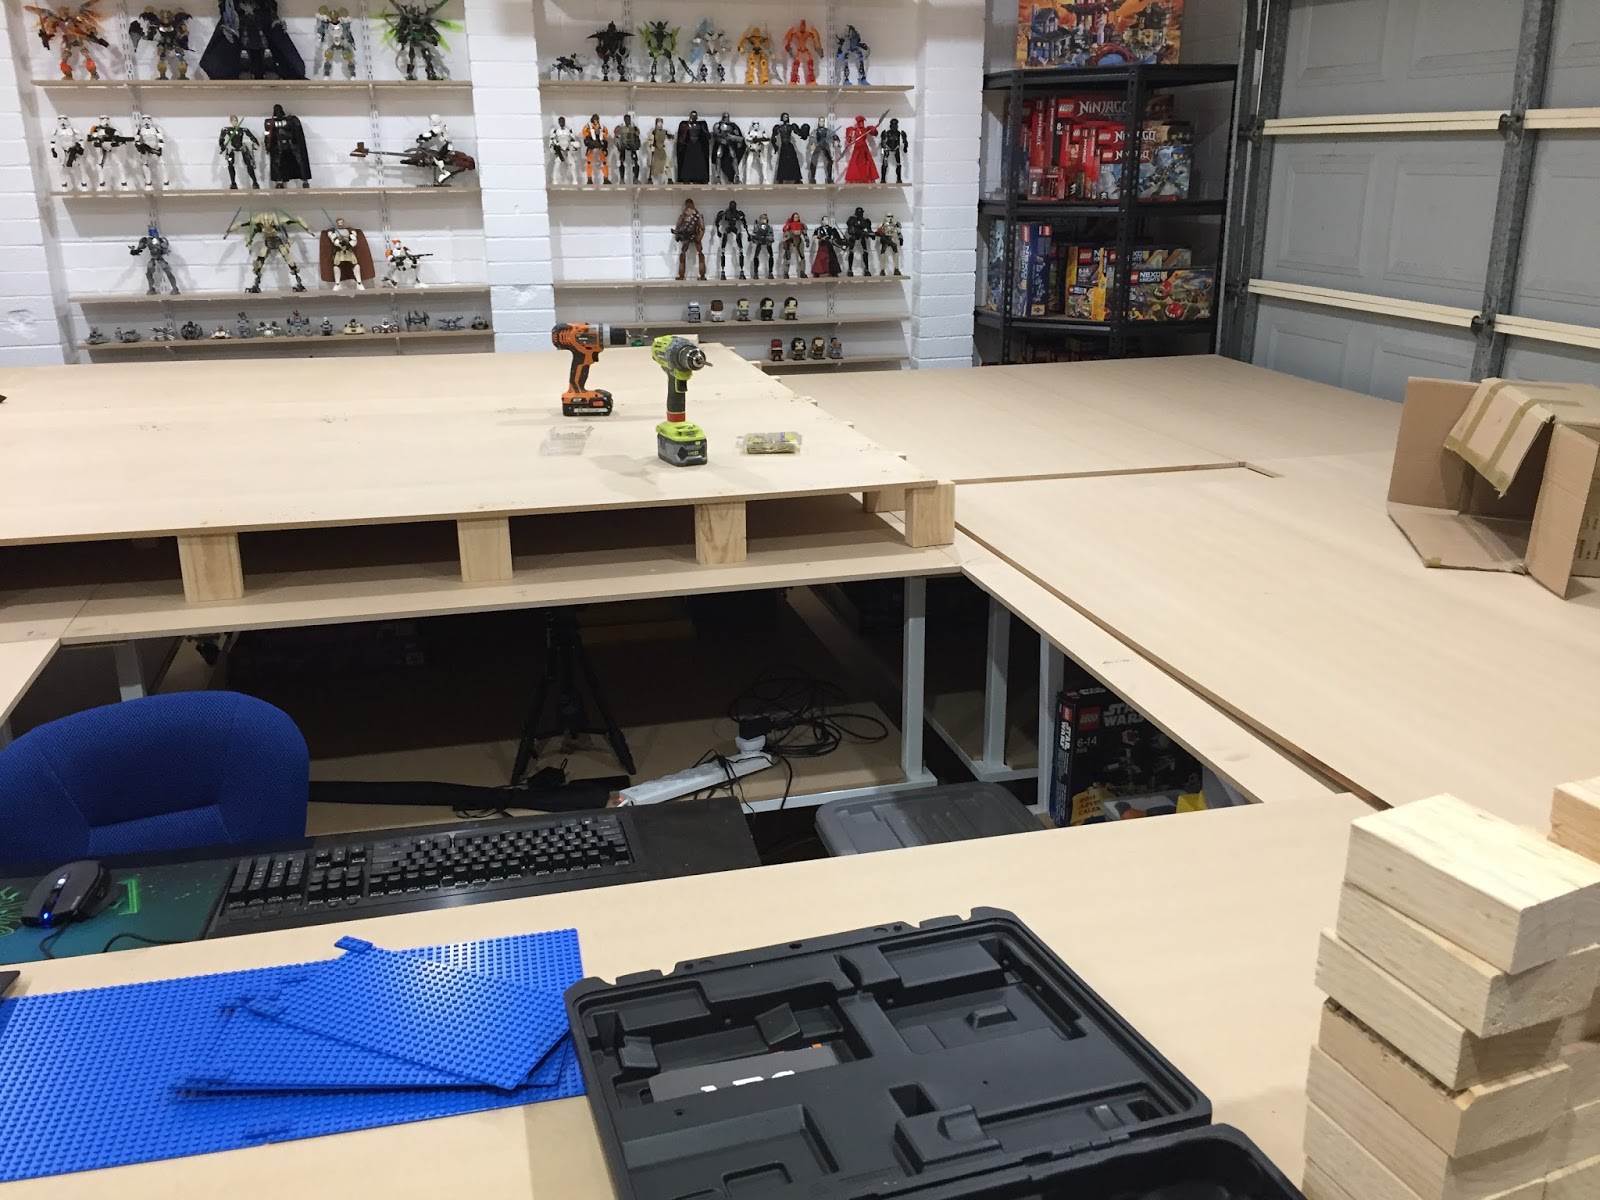
Since I am elevating a majority of the City off the table top height (sea level) I chose to go with a wooden MDF built rise rather than spend an absurd amount of money on LEGO that would never be seen. So with the help of my bro in law Shane, we activated expert master carpenter mode and got into it.
Since I am elevating a majority of the City off the table top height (sea level) I chose to go with a wooden MDF built rise rather than spend an absurd amount of money on LEGO that would never be seen. So with the help of my bro in law Shane, we activated expert master carpenter mode and got into it.
 |
| We started straight in this corner and hoped it would all line up at the end as well. |
 |
| The size of the MDF sheets definitely meant I needed a hand. |
 |
| Working our way around the table. |
 |
| Plenty of room for subway train lines perhaps? |
Just over half way through the elevation process We ran out of stumps. It's the same with LEGO parts, always underestimating how fast they get used up. Back to Bunnings for extra timber, and a cheeky Sausage Sizzle never hurts.
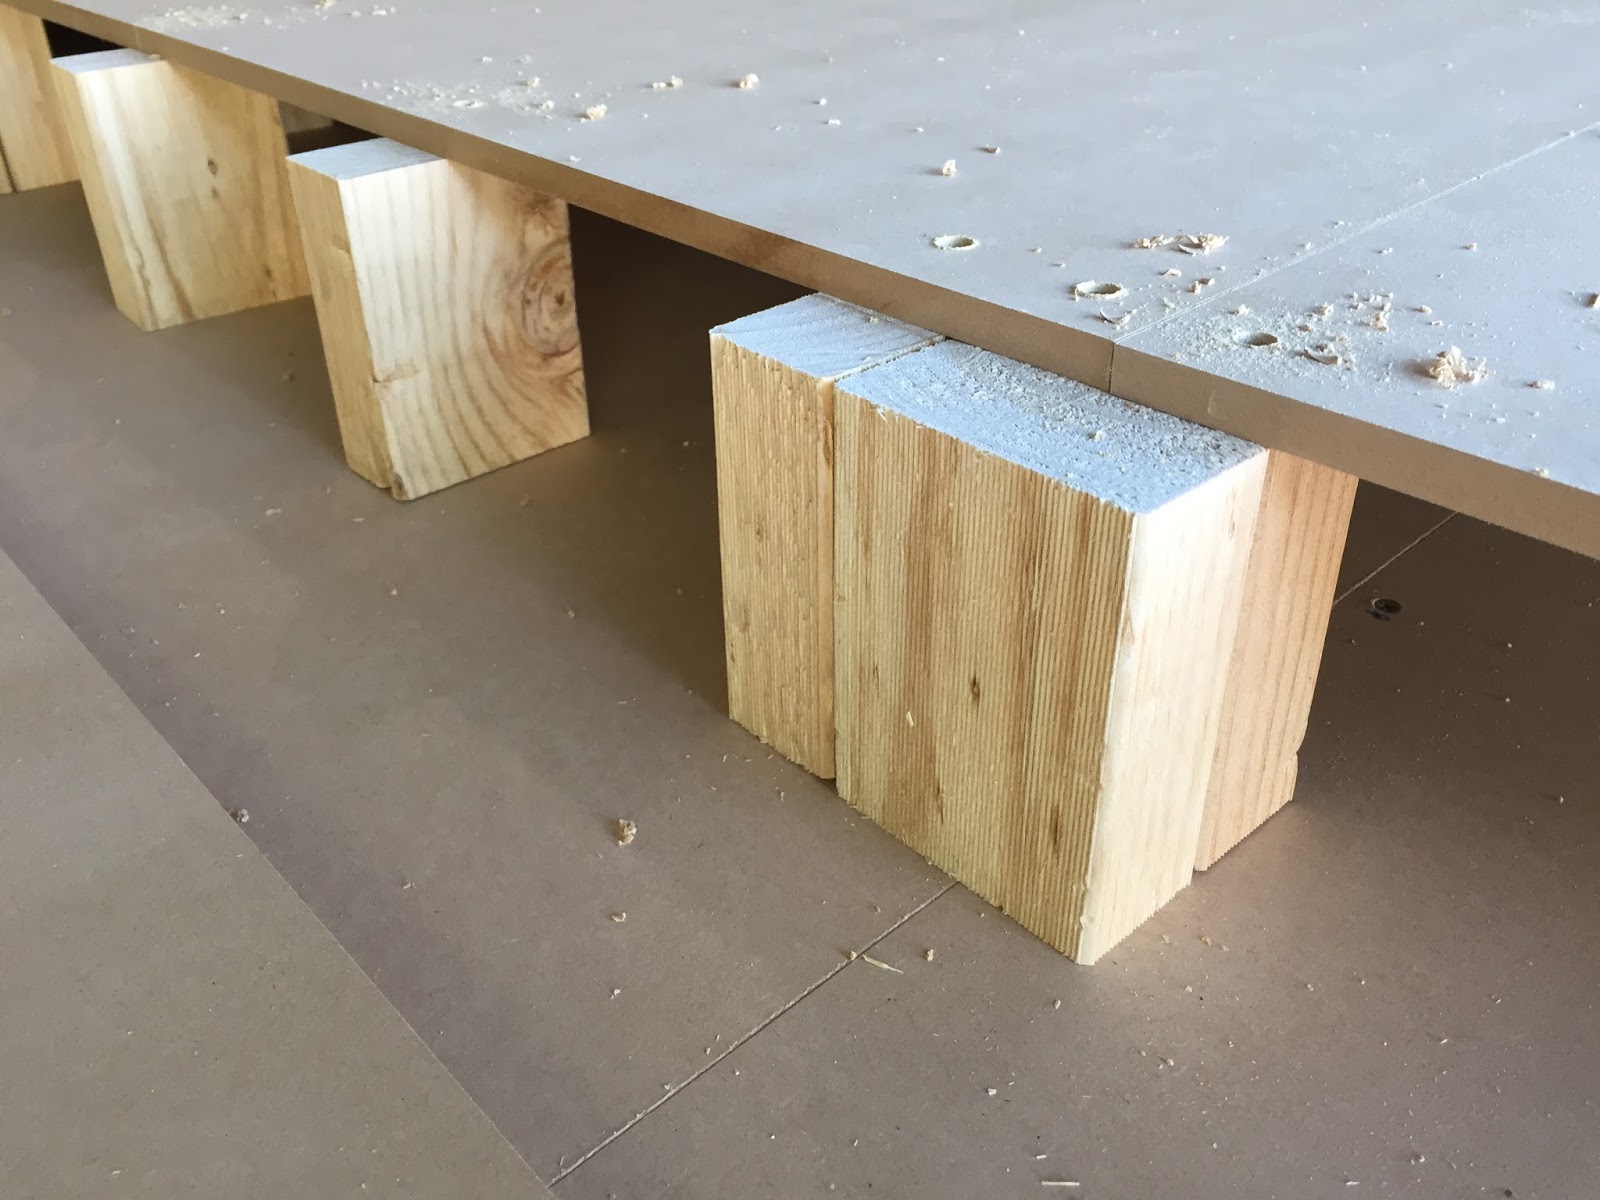 |
| Over 100 of these stumps were used. |
And then finally some LEGO on the table in the places it's meant to be. Over the past week I used my design on BlueBrick on the TV to lay out all the baseplates.
 |
| Time to unpack and spread all this! |
I tried my best to have the different colored baseplate zones make sense and represent real world things:
- Blue = water or ocean
- Green or Bright Green = grass, paddock or unturned land
- Tan or Brown = sand or dirt
- Light Grey = concrete
- Dark Grey = concrete or tar
Have a look at my Video on YouTube to see the completed baseplate layout.
Thanks for checking out my first City Update. Next week I'll start working on what I've been looking forward to for a long, long, time. Train tracks!
No comments:
Post a Comment