G'day, I want to start this post with a bit of a story.
When I was a child my Opa has several HO scale train layouts. My cousin an I would spend hours and hours making up trains and controlling them around. My Opa was a very talented man and would hand make and paint all the scenery, mountain landscapes, roads and he was especially good at waterfalls and rivers. I always loved my own LEGO train sets as a kid and when I started planning a LEGO city I knew that trains would play a very large roll in it. Here's hoping I have inherited some of Opa's talent and can do justice with my own layout.
 |
| The longest stretch of track covers the entire length of the table. |
 |
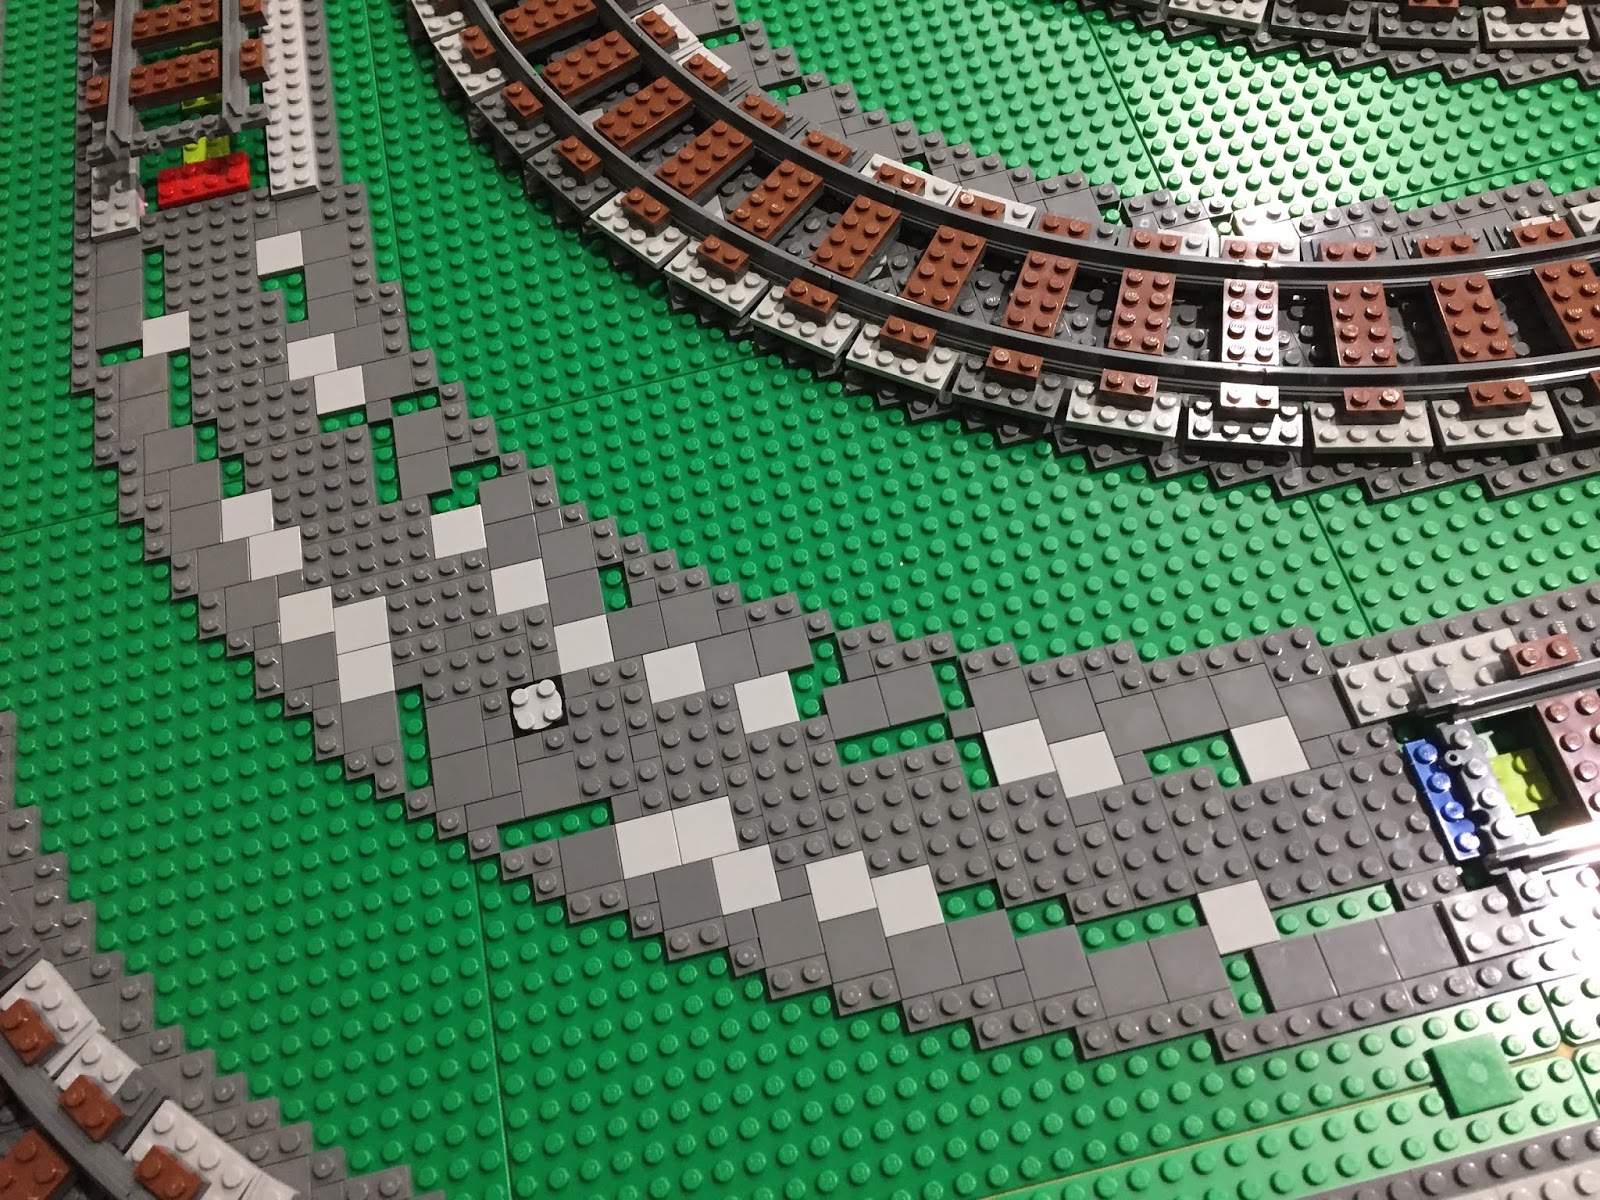
| Full curve in place to help line up the ballast. |
 |
| Plate outline of one of the switch tracks. |
 |
Switch tracks were the most complicated to get the under details lined up.
This is where 2 switches almost touch. |
 |
Unfinished train yard. The colored plates have no significance,
they were just cheap to buy in bulk and made good filler. |
 |
| Finishing up the train yard... bags of parts and tracks everywhere... organized chaos. |
 |
| Extra studs for detail will be added to the inside of the curves. |
Quite a while ago I was trying out a few designs for the train track look. A popular method is using 1x4 black or brown tiles alternating every other stud, which I think looks amazing. However I decided to go with 2x4 plates in the middle and 1x2 plates on the outside, both in reddish brown, not just to be different but to save me a LOT of money. With so much track on the table it starts to add up fast. The tracks are placed on a double layer of built up grey plates with further layers of smaller detail to be added after the tracks are in. I made some final prototypes before going ahead to be sure I'd be happy with the design.
 |
| Straight section prototype. |
 |
| Curved prototype was very time consuming... |
And just some number crunching, this layout is made up of:
- 433 Straight Tracks
- 93 Curved Tracks
- 15 Switch Tracks (8 Right, 7 Left)
- Over 1500 redish brown 2x4 plates and over 3000 1x2 plates to make up the main sleepers
- Around 600 light grey modified plates + 1200 cheese slopes for station sleepers
- Over TEN THOUSAND various grey plates making up the ballast and details
- So far...
Thanks guys be sure to look at the
YouTube Video for a complete dynamic run through of the finished layout. Next up I will be adding in some further details and getting some trains running.


I'm gonna borrow your technique. Need to:
ReplyDeletea) get a lot of parts
b) have a play with that ballast, especially on the corners
Now I know your blog is here, will keep an eye on it! Good SEO btw ;)
Yeh you will fly through the parts so fast, also depends how many layers you decide to add. I was tempted to only do 1 level and it still looked good, would have saved a few thousand parts.
DeleteThanks for looking at the BLOG.