G'day everyone welcome to the third and final part of my initial LEGO Room setup.
Look, actual LEGO sets, that makes it official! I was actually still in the process of installing the rest of the under table LEDs so I had just placed everything on top of the table and on the shelves, roughly sorted by theme.
 |
| The view of my spare parts from the door. Chewie checks my credentials before I'm allowed to enter. |
 |
| Star Wars UCS good guy ships. |
 |
| Star Wars UCS baddies. Lots of yet to be opened Star Wars boxes. |
 |
| Mixels (for the kids) and random Classic boxes. |
 |
| More Star Wars boxes yet to be opened. Including the Executor. |
 |
| Lots of City stuff for... the City... |
 |
| Starting to get into the more interesting City and Licensed Theme stuff. |
 |
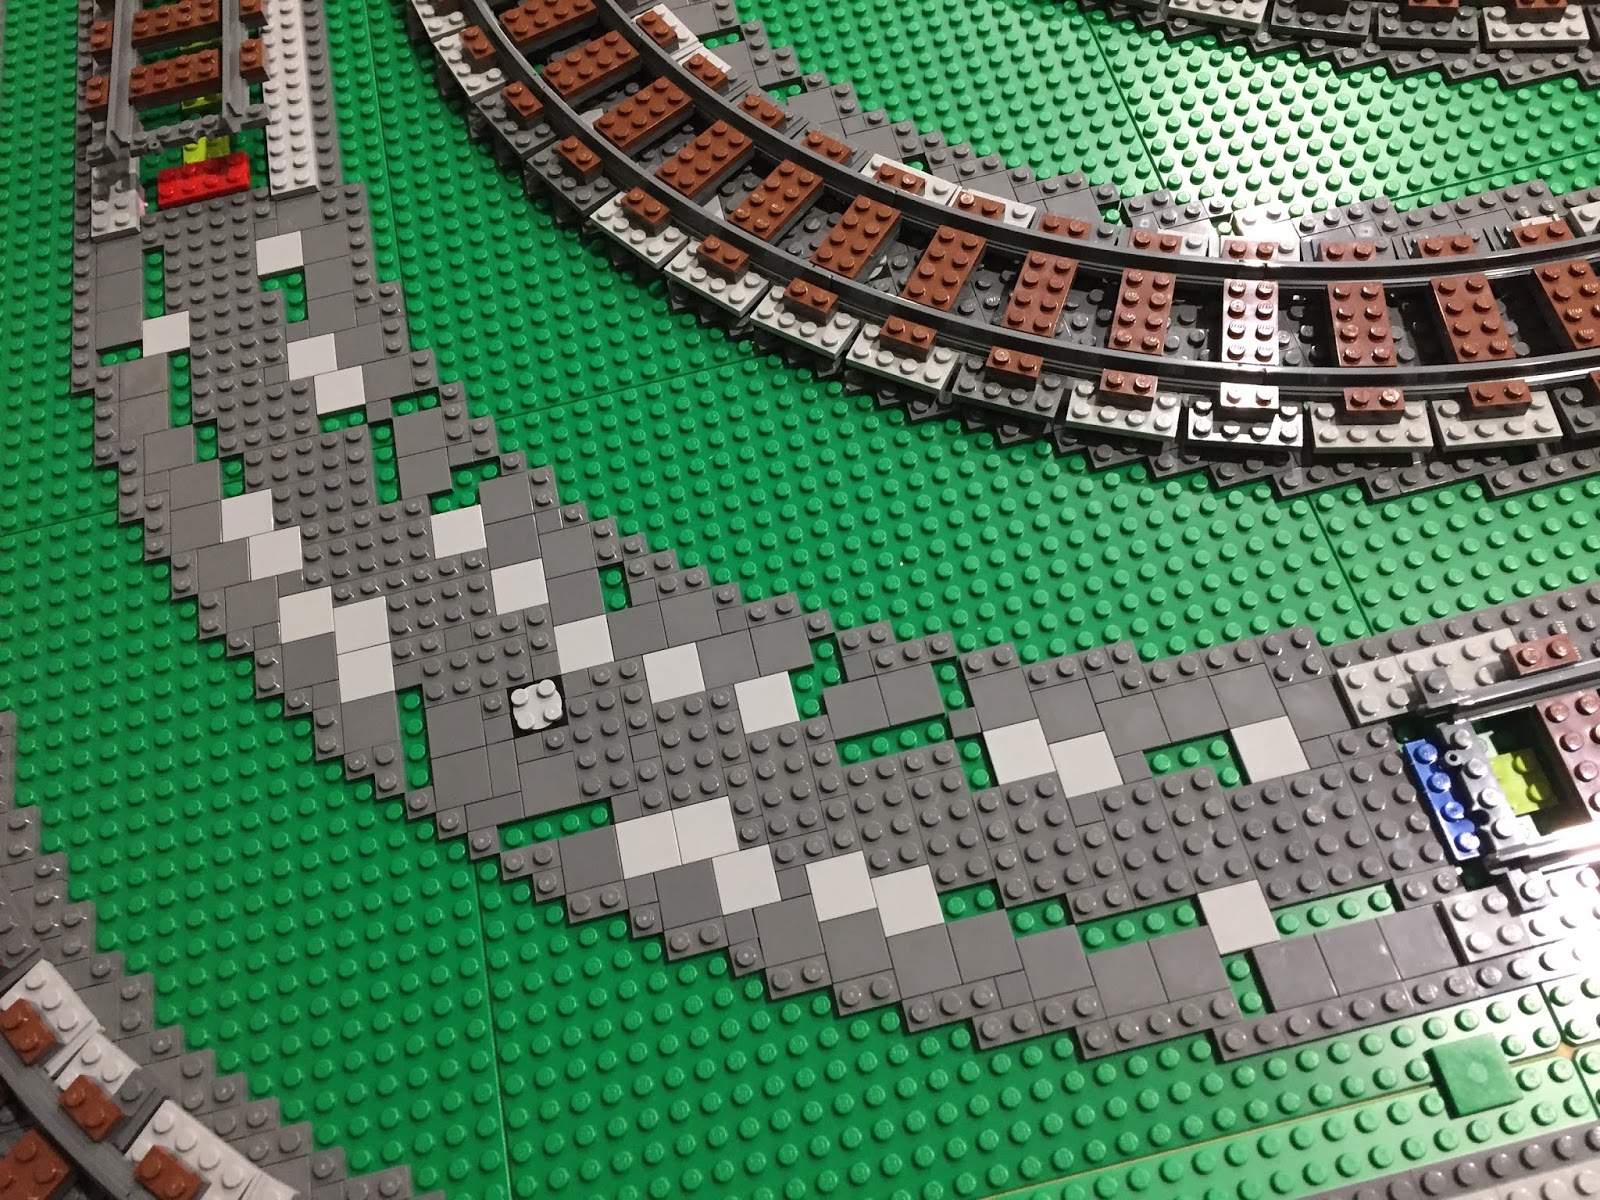
| Trains Trains TRAINS! |
 |
| Creator Expert Modular Buildings, some are multiples for expanding options. |
 |
| Smaller Creator 3in1 houses and buildings. |
 |
| Super Heroes - No arguments from me, I love both DC & Marvel! |
The centerpiece of the entertainment system is the 65 Inch Samsung KS8500 4K Curved TV. Normally I wouldn't go for a curved TV but I got this on a great sale at JB Hi Fi one day compared to its flat screen brother and for a while it was my main TV in the GEEK Room but have since swapped it out for an OLED. So into the LEGO Room it went. One of the reasons I considered this TV in the first place was a review on the RTINGS website. These guys do very in depth reviews of modern TVs and are a great resource for setting up and calibrating a new TV.
 |
| 65 Inches of curved. |
 |
| Straight on view looks sweet. |
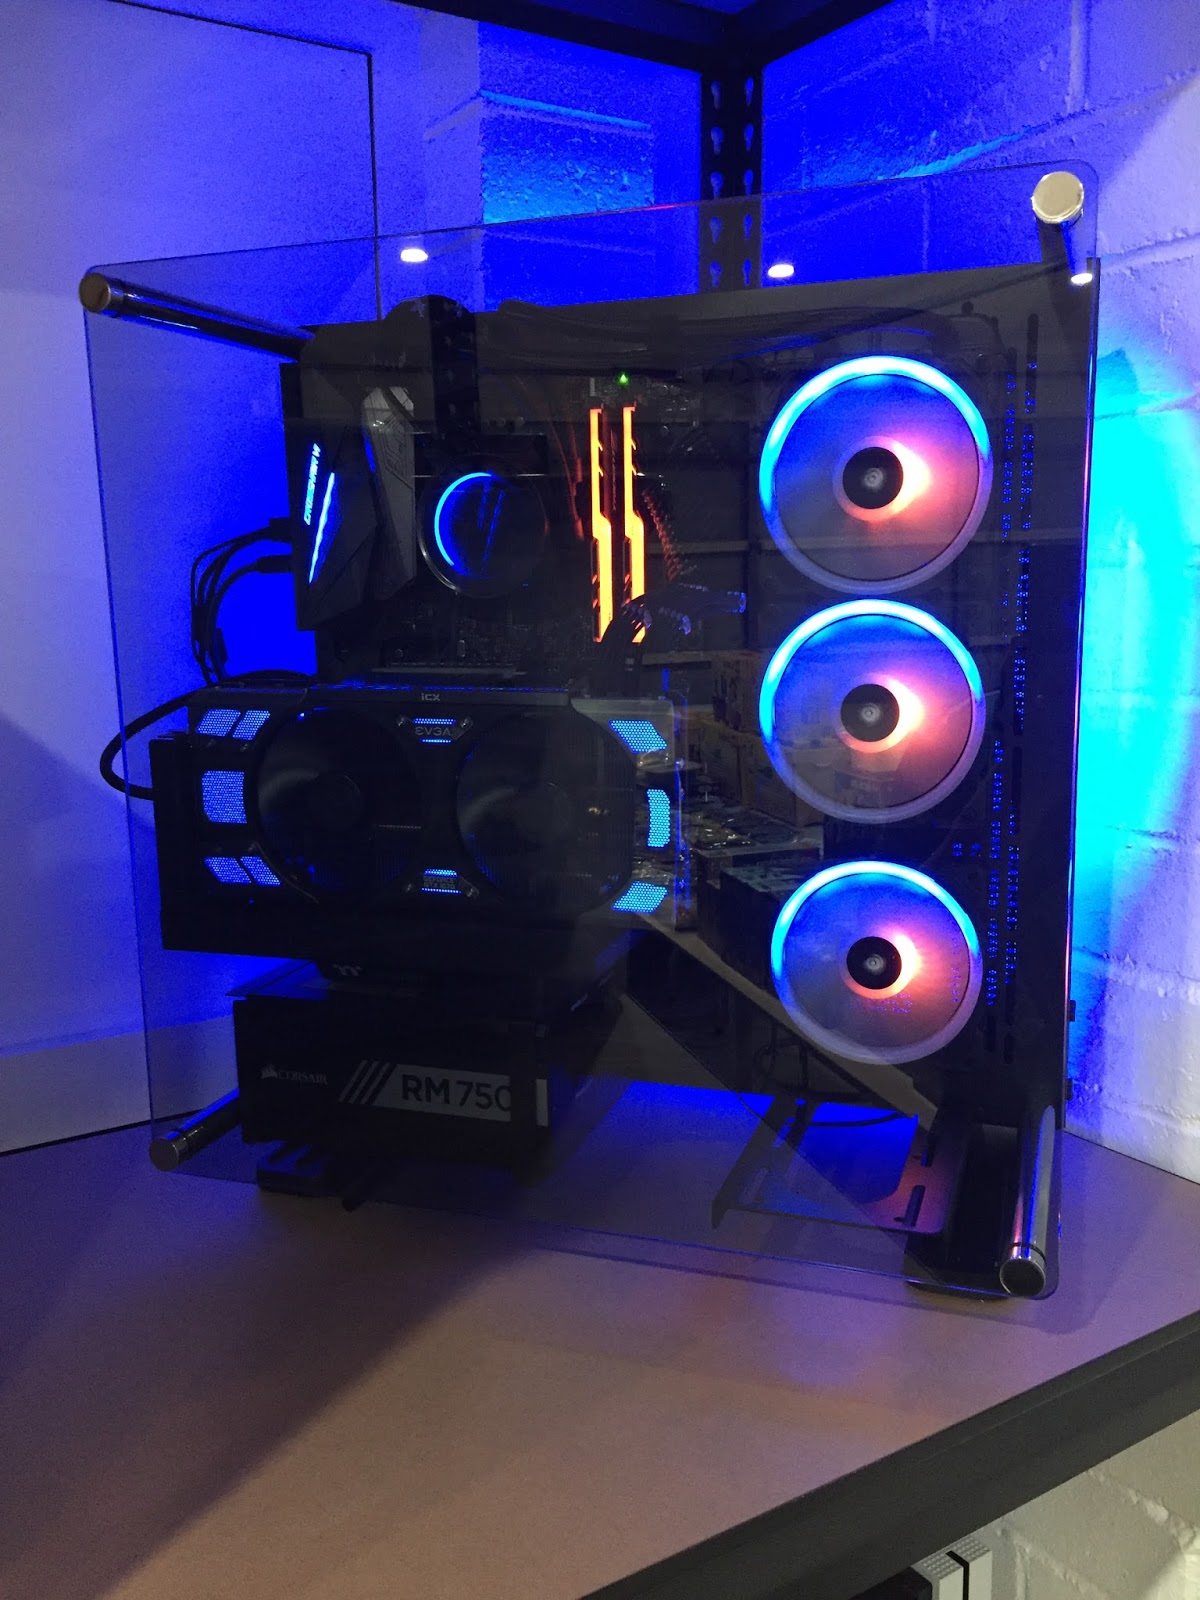
The other main star of the entertainment system is the new PC I built. It will be used for LEGO digital designing & BlueBrick, streaming YouTube & Netflix etc, sneaking in some games while sitting in the City and now video editing for my YouTube channel and this Blog. Originally I was going to wall mount it next to the TV but it just stuck out too far and I didn't trust my clumsy self enough to not smash my shoulder on it every time I walked past. It's now found it's place to the far right of one of the main shelves and when I finish rebuilding the UCS Death Star II (in the tub) they will sit side by side. One to destroy and one to create.
 |
| Sacrificing some LEGO real estate for the PC and Xbox. |
 |
| My new Ryzen beast. I named it BenZen. |
 |
| Blue and Orange lighting to match my Blog branding. |
 |
The fans have a swirly pattern that reminds me of the round things in the TARDIS.
I've always liked the round things. What are they? I don't know. |
The tech specs if anyone is interested:
Case: Thermaltake Core P3 with Tempered Glass
CPU: AMD Ryzen 7 1700X overclocked to 4.0GHz on all 8 Cores, 16 threads
CPU Cooler: NZXT Kracken X52 240mm AIO Radiator Cooler
Motherboard: ASUS Crossahair 6 Hero - X370 Chipset
RAM: 16GB G. Skill Trident Z RGB overclocked to almost 3000MHz
Graphics: EVGA GTX 1070 FTW2 (nVidia)
Power Supply: Corsair RM750x Gold 750W
Primary Storage: Samsung 960 EVO 250GB M.2 SSD & Samsung 850 EVO 1TB SATA SSD
Secondary Storage: Seagate 2TB HDD
Custom black sleeved cables from CableMod
Windows 10 Pro & Adobe Photoshop/Premiere Elements 18
 |
| View from the middle of the City. |
We ran 2x USB booster cables from the PC , up the wall, across the roof , down
the opposite side behind the corner shelving unit and then to the middle of the tables where
my keyboard and mouse await. We did it this way so that there were no
crossing cables to trip on around the walkway. I use a Corsair Lapdog on my lap when I'm gaming on the couch in the GEEK Lounge so I grabbed another one on Black Friday for the LEGO Room. Any table room taken up by a keyboard means less space for LEGO and we can't have that. Throw in a couple of Star Wars bar stools I got for Christmas and we are all set.
 |
| Corsair K70 Rapid Fire mechanical keyboard with Cherry MX silver linear speed switches. |
 |
| Corsair M65 Pro mouse with handy slow DPI button in easy thumbs reach. |
 |
| Keyboard and mouse housed nicely in the Corsair Lapdog. |
I added an Xbox One S primarily for watching Blu-Ray. I'm going to build a custom LEGO shroud around it to make it blend in with the LEGO models. Will need to include plenty of exhaust with these things of course.
 |
| Xbox One S - 500GB - White. |
As I mentioned earlier I was still finishing up the LED strips and in the previous post I described my initial trouble with them not sticking. Happy to say after my solution they are now holding strong and showing no signs of letting go. I finished up the last 2 tables and am very pleased with the result. I can turn them on/off independently from the roof lights.
 |
| The LED strips will do justice for the models that will eventually be under the table. |
 |
| This one reminds me of the old Nokia phone game Snake. |
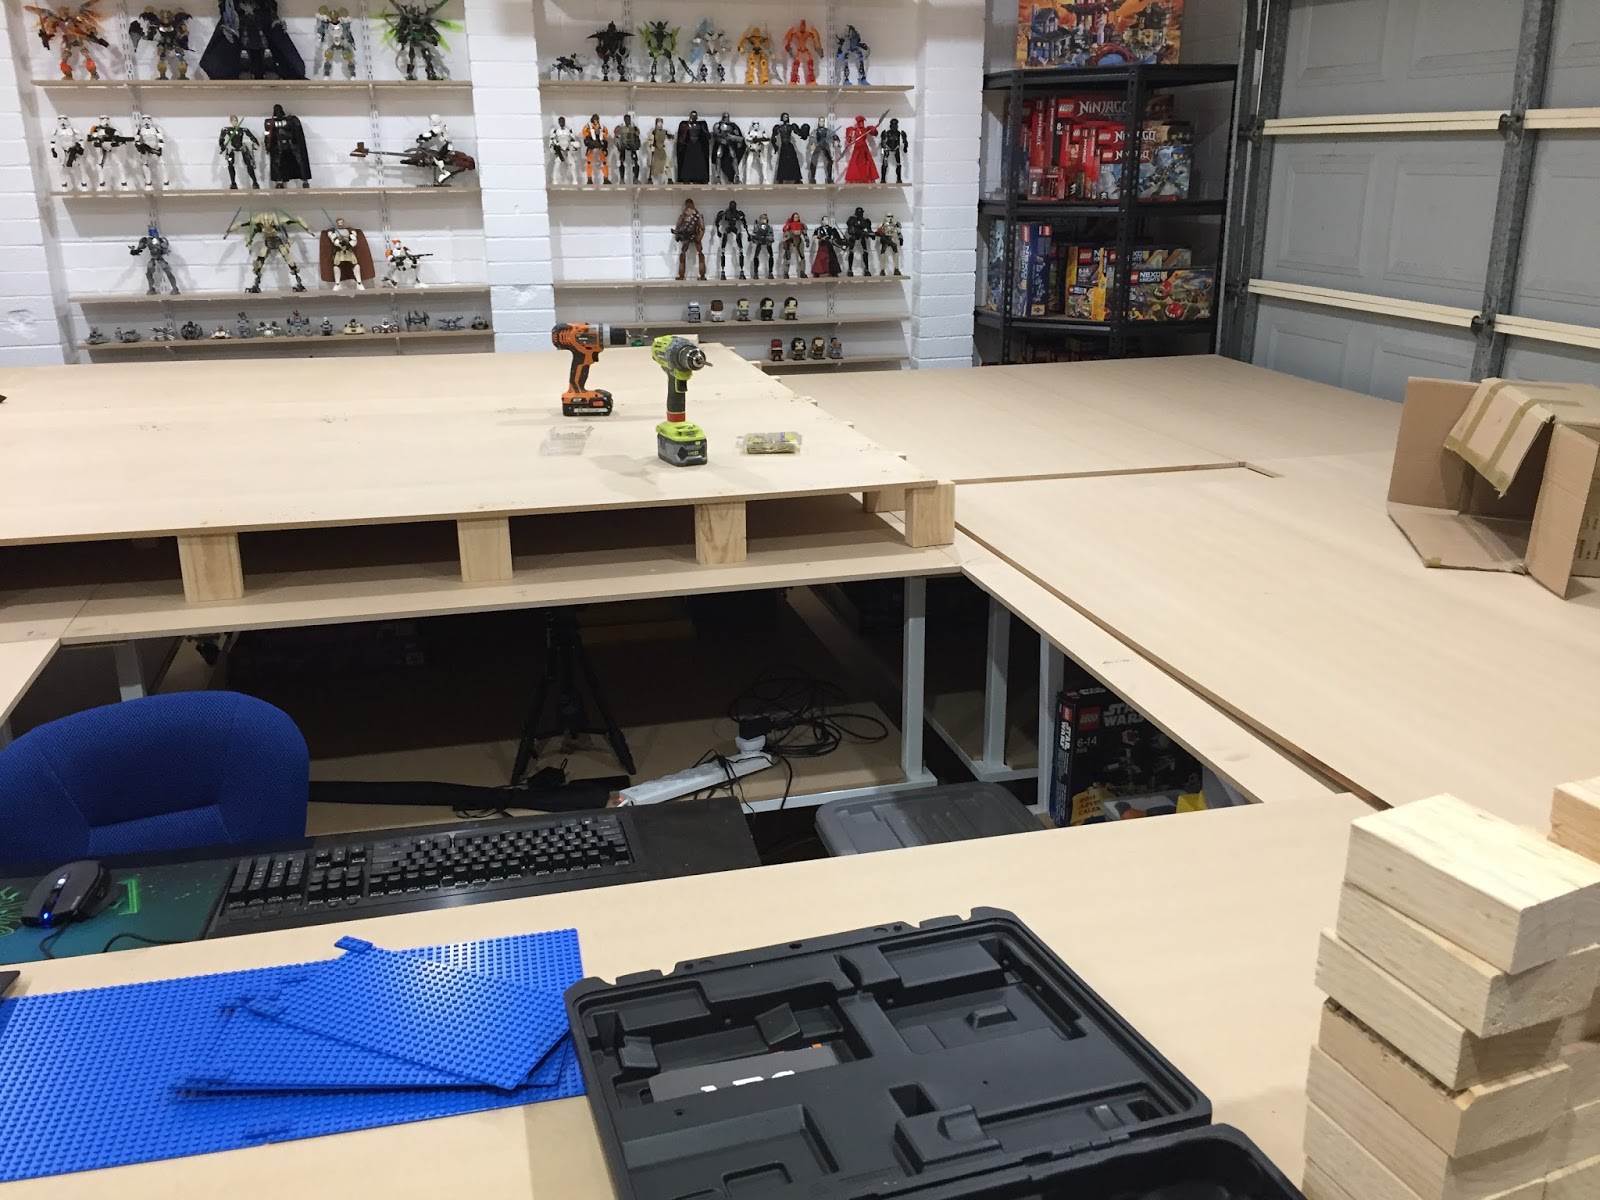
Underneath the tables I left enough space to either build or buy some form of storage. After looking through Bunnings at various drawer systems and tubs I found one particular 40 liter tub made by Ezy Storage that could be accessorized with trays and containers that hook onto a purpose lip under the lids. Taking one home to test I found it fit under the bottom shelf with barely a milometer to spare. Perfect. Around the entire table and including the middle standing area I could fit 36 tubs without double parking them. Back to Bunnings and I cleaned them out of everything they had in that size, which was only 16 tubs, and a bunch of accessories I'll definitely grab more ASAP because I'd hate for them to swap styles in the meantime. I'll use them for parts storage once I start sorting it all again. I've already used some for my instruction books, train track and spare baseplates.
 |
| Like they were made to fit under there. |
 |
| Great for storing my spare LEGO parts. Notice the hanging mini tub accessory inside. |
A few less interesting yet important things of note are the 1080p security camera which works great in low light as well. We have 8 of these around the property... just in case.
 |
| Benny is watching! |
Also a split system air conditioner to keep my collection cool in the Aussie summer... and me too I guess. I tried it out recently on a 40oC day and it managed to completely cool the room to a comfortable level in less than 15 minutes. I have a few ideas for the wall below the air con.
 |
| It's cool and quiet when I want it to be. |
So that's about it for the LEGO Room initial setup for now. There will be minor updates when I add or change things around. If you haven't already please watch the accompanying video I made (my first) which goes in depth with a few plans and ideas and shows the room after I tidied everything up a bit more.
 |
| Leaving the room with the roof lights turned off. Looks nice. |
Thankyou for following. Cya next time.